.png?height=120&name=MicrosoftTeams-image%20(6).png)
Creation of the report card’s template:
Report cards are a key element of communication with families and students, apart from an obligation that we have as a center.
At Additio we have created a report card that allows you to set up the template completely so that you can choose the aesthetics and the information that you want to display, so that you can customize it however you want. You can find the option to create the template in the main menu of the center’s panel, in the section: Report cards templates. Once inside, create a template and start creating your report cards with the different components that you will find on the left.
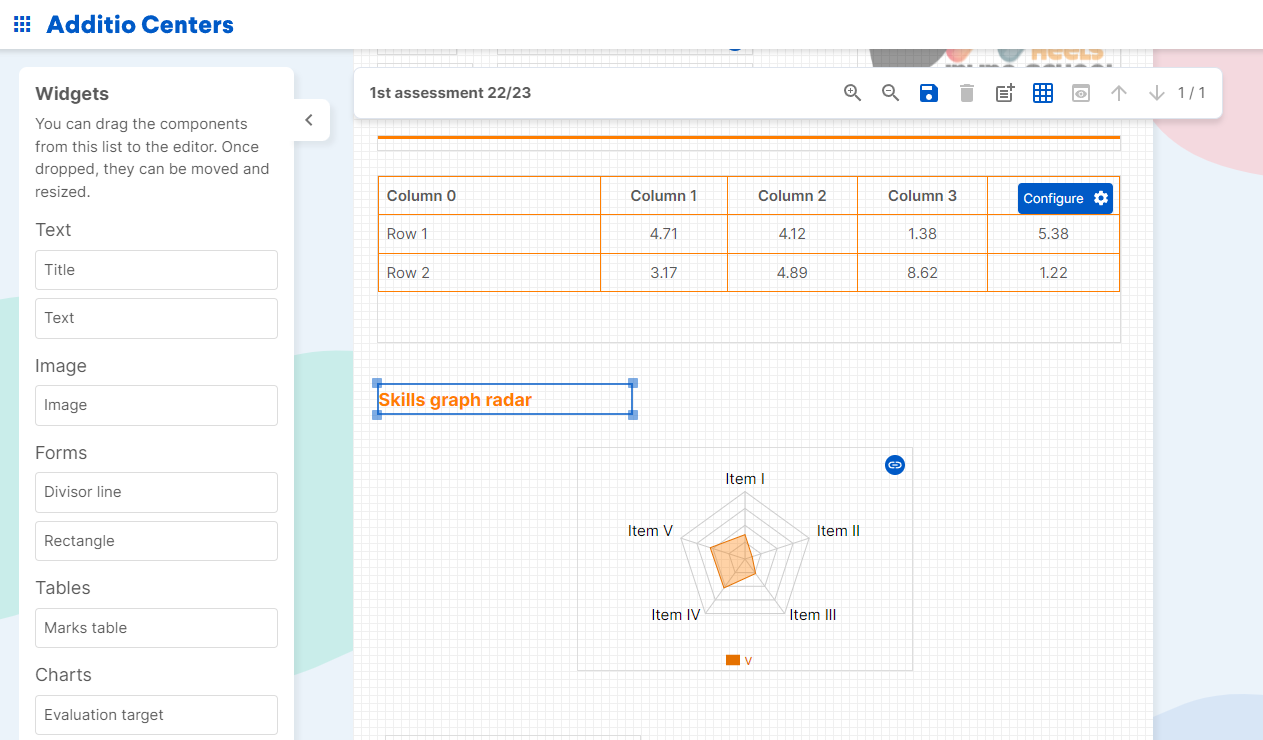
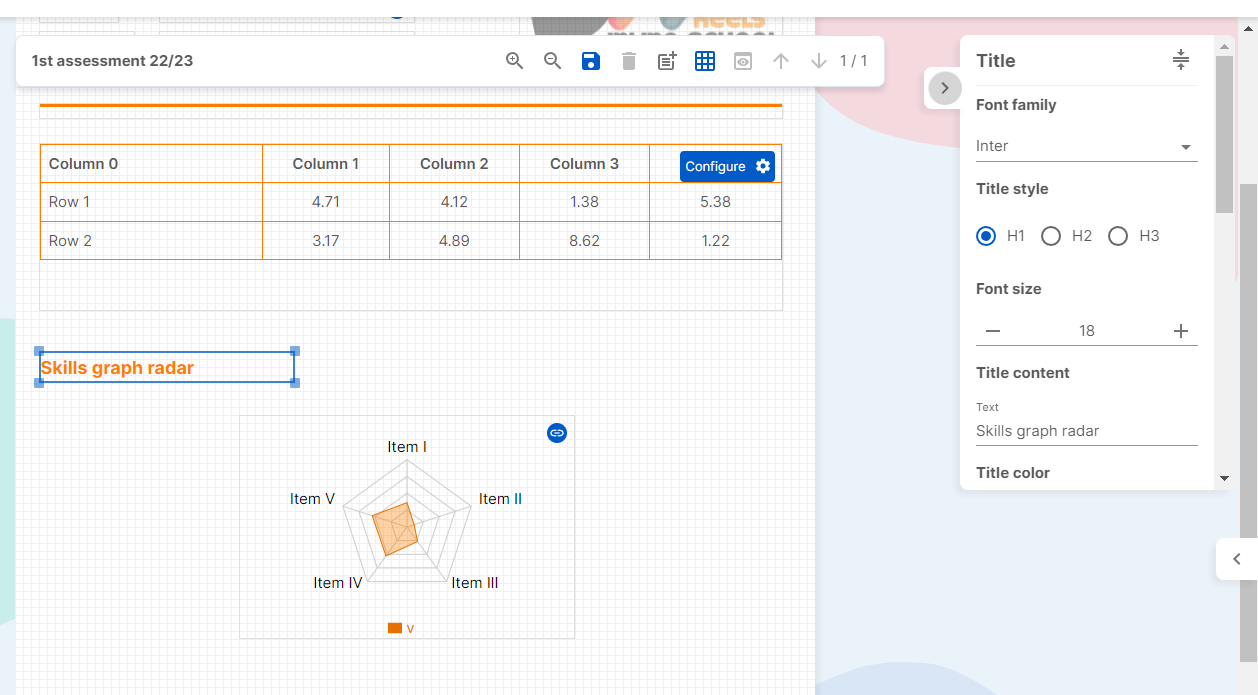
Each of these components can be edited and customized with the Editor located in the upper right side.
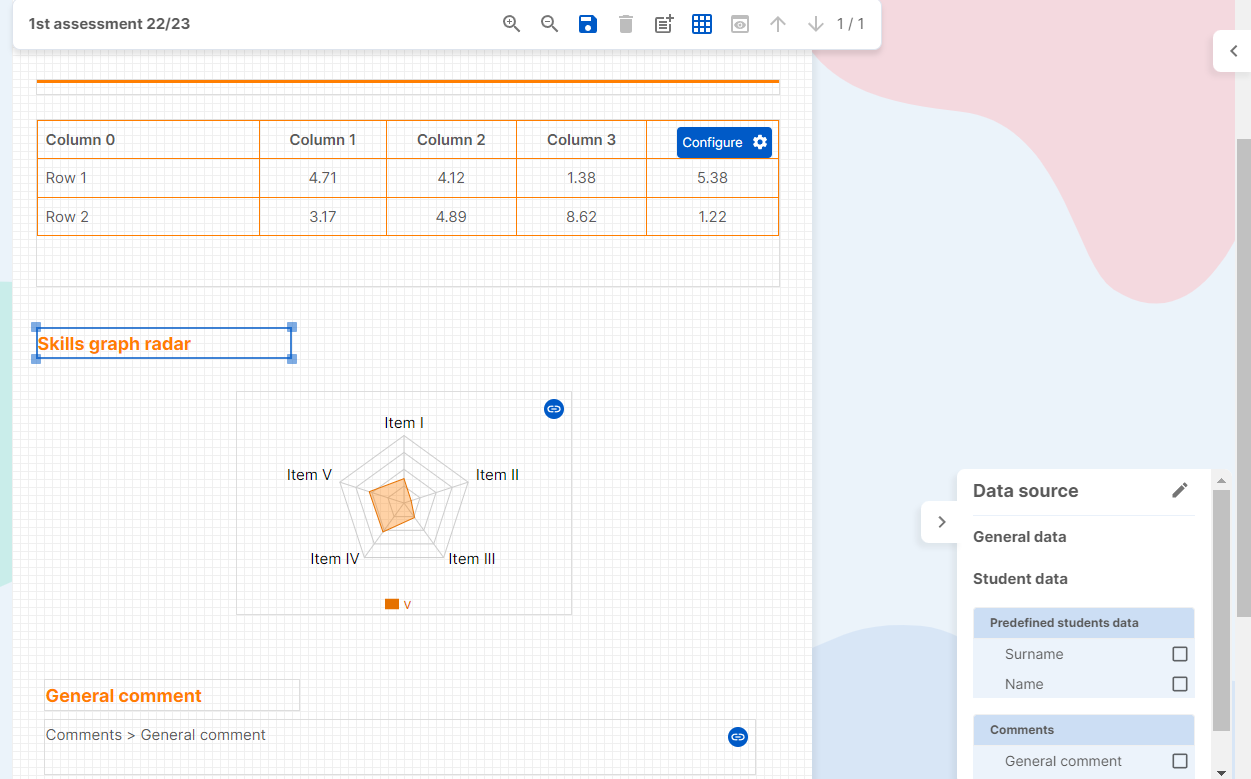
Finally, you will be able to fill in these report cards with information from the Data Source:
Watch this video to learn all the steps to create your perfect template:
Image component
When creating your report cards, you can insert images, either the school logo or another image you have on your computer. You have several ways to adjust the image, and to arrange it in the report card as a whole. You can also add student's photos, that will be taken from each student's profile in the school center.
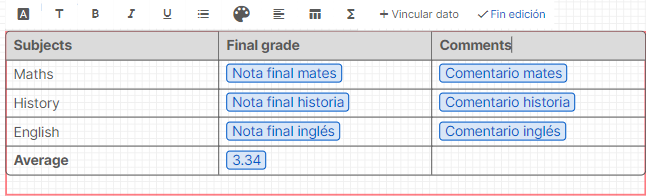
Rich text and free table components
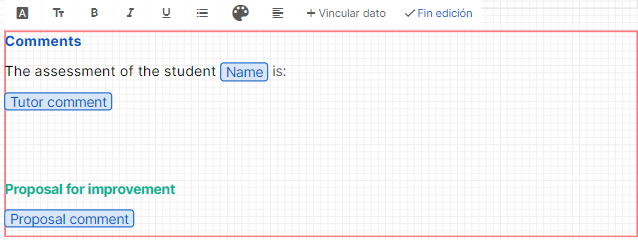
The rich text component allows you to create different text formats and dynamic data in a single component.
Using the integrated editor, you can select the font, bold, italics, underline, bulleted text, text colour and alignment. In addition, through the option +Link data you can insert dynamic data of the centre, of the student body or data used for tables and graphs (such as notes, evaluations, comments...).
Using the free table, you can create customised tables and choose which dynamic data you want in each of the cells. In addition, through the integrated top menu, you can choose the text font, header cells, bold, italics, underline, bulleted list, headline colour and alignment.
You can also easily add and remove rows and columns, as well as add averages in rows or columns. Through the option +Link data you can insert dynamic data of the centre, of the student body or data used for tables and graphs (such as notes, evaluations, comments...).
Application of the templates in the base groups:
Once you have created the template, it is time to apply it to the different base groups. Keep in mind that the same template can be used for more than one group. To do it, you only have to enter the base group> click on the 3 vertical points at the top right> Reports> New report cards.
Once inside, create a new report card with the “+” button. Write a name and apply the template you want. Finally, you will be able to set up the data to introduce.
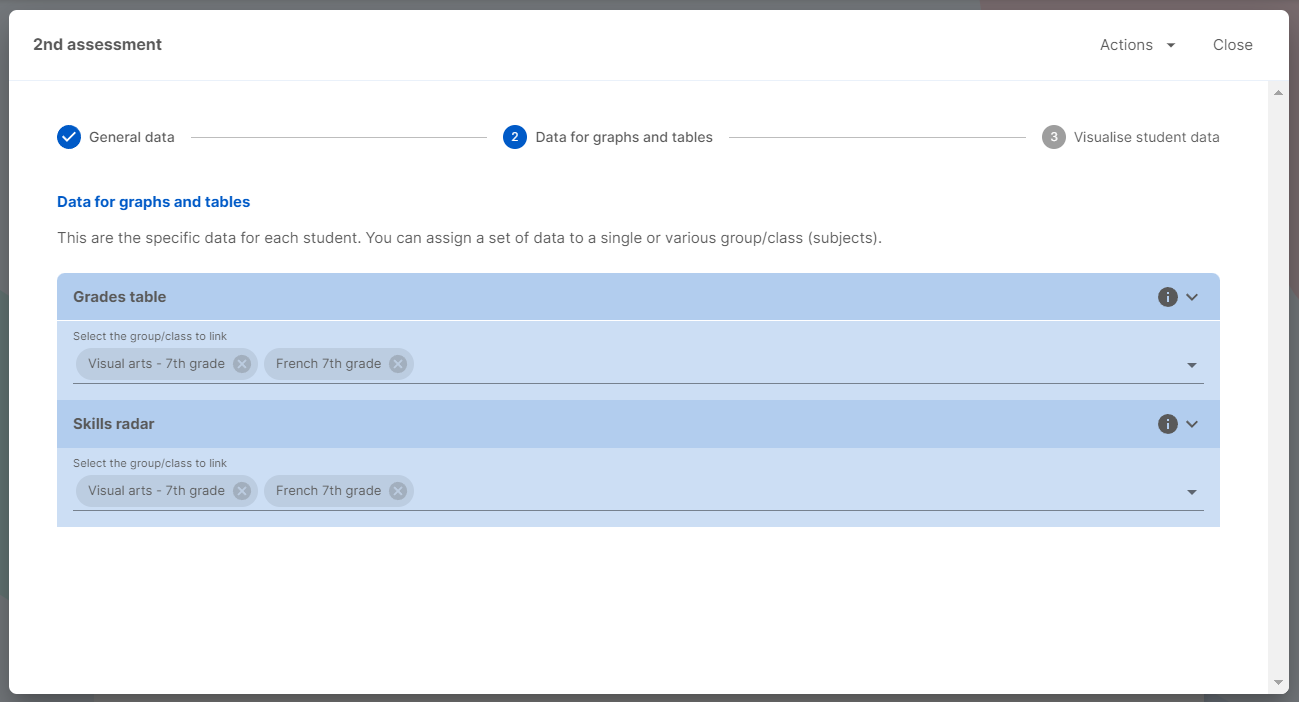
First of all, you must pick the class groups from which you want to get the information and select the general information:
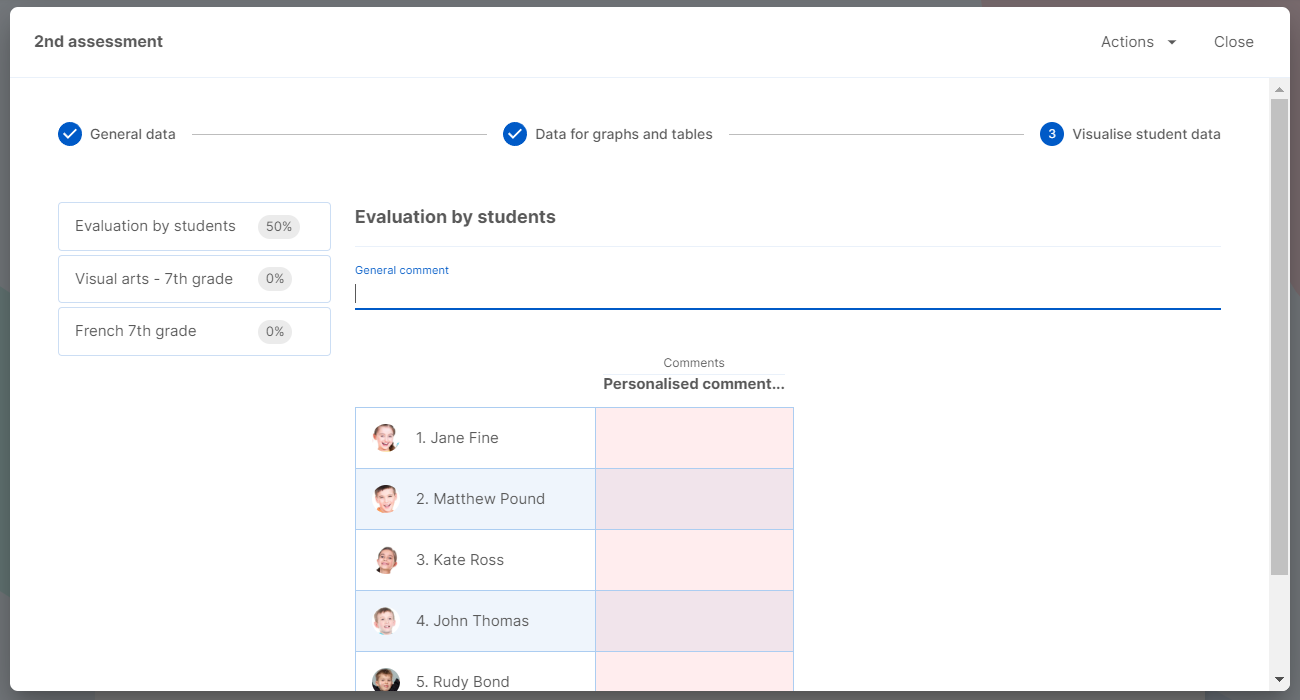
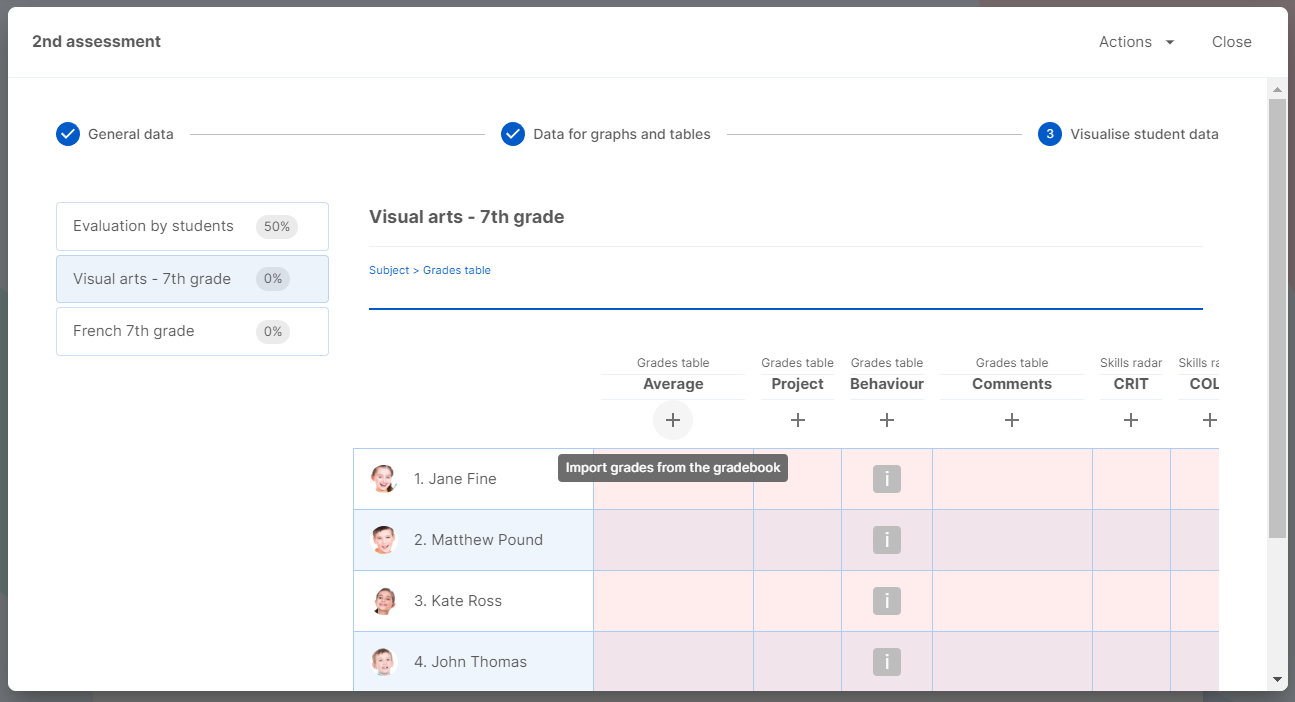
Once you have filled in the information of the groups, it’s time to start importing the information, you can do it both by writing in each of the cells that are indicated from the base group, or you can also import them from the teacher's gradebook by clicking on the “+” button that appears below the column.
Once all the information is filled in, you can click on Actions to export the report card in PDF.
Also, you can send a notification to the teachers to fill the report card information from their user account.

Then, teachers will receive an email asking them to introduce the grades.
In this video you will see step by step how to implement the report card to the different base groups.
Grading from the teacher's profile:
Teachers can grade directly from their user account. They only have to access the main menu and click on: Center's reports.

In this moment, the list of the report cards where the teacher takes part will appear and the teacher will be able to introduce the requested assessment:

Send report cards to students and families by email or Edvoice
Once you have finalised your report cards, you can easily share them with students and families via email or Edvoice.
To do this, go to the home group, go to the option Reports > New report cards, and select the report card you want to share.
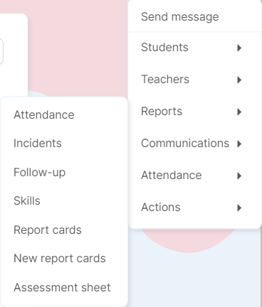
Once inside the viewer, you can preview the bulletin for each student, and click on the Actions menu to see all the possible sharing options.
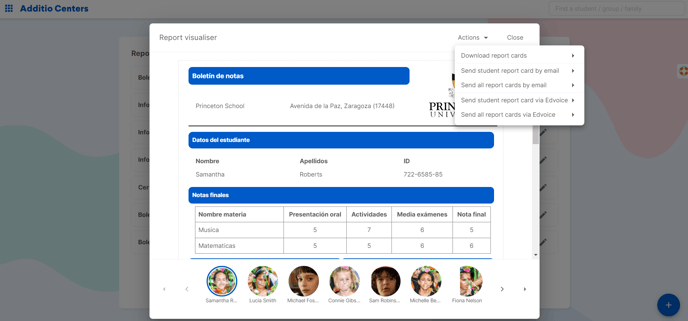
You can choose different sharing options:
- Email the individual report card to the student or family.
- Email all report cards to the students or families
- Send individual report card to students or families via Edvoice
- Send all report cards to students or families via Edvoice
Once you send the bulletin, the action will be executed in the background and when the sending is finished, a floating notification will appear on the right hand side of the centre panel.
Linking report cards to the student's academic record
Another option available for academic reports is to add them to the student's academic record. This option allows us to save the report in the student's file so that this information can be consulted more easily in the future.
To do this, when we are in a report, we have to choose the option Download Reports. When we select this option, at individual or group level, the option to add the report to the academic record will appear:
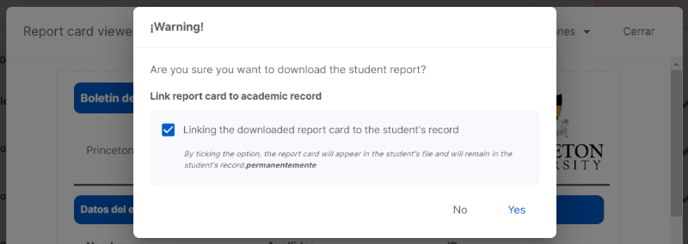
Simply tick "Link the downloaded report card to the student's academic record" and then choose Yes. Once done, a message will appear warning us that the process is running in the background, and that when it is finished, a pop-up notification will appear.
Once the process is completed, when we go to the student's profile, we will see a new tab "Academic record".
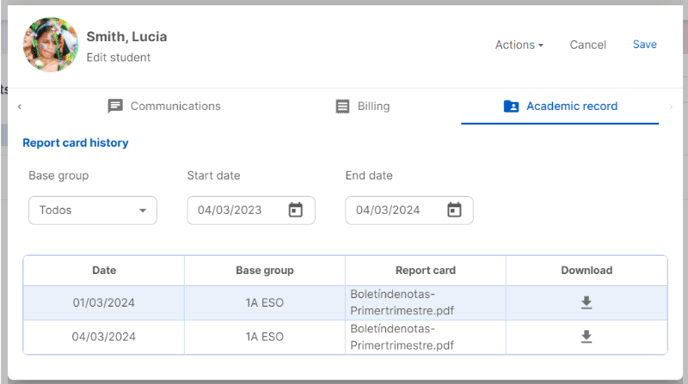
In this tab we will see the history of report cards, being able to filter by Base Group and by start and end dates. We can also download the report card or academic report with the download button to view it.
To view the student's academic record it is necessary to have the permission enabled in the Roles management. If a user does not have this permission enabled in their role, they will not be able to view this section.
To enable it, go to Configuration > Roles management, and edit the role to see if the option "View student academic record" is checked.